Section 1. How to edit typography
Step 1
- Go to Dashboard
- Go to Appearance > Theme Options
Step 2:
- On left side bar > Typography
Here you can edit:
- Standard fonts for headlines / body / footer / buttons
- Font sizes for H1-H6
- Font line heights (leading)
- Font weights (bolds, italics, etc)
- Font letter spacing (kerning)
- Font margins (space between headlines and paragraph text)
Section 2. How to edit colors
Step 1
- Go to Dashboard
- Go to Appearance > Theme Options
Step 2:
- On left side bar > Styling
Here you can edit:
- Background colors
- Font colors
- Main menu colors (navigation)
- Layout options
- Fine tune padding of content on top / bottom of page
(this is the white space between bottom of navigation and top of page content as well as space between bottom of content and the footer.)
- Fine tune padding of content on top / bottom of page
Section 3. How to edit footer content
Step 1
- Go to Dashboard
- Go to Appearance > Theme Options
Step 2:
- On left side bar > Footer
- To edit “copyright footer bar” Scroll down to “FOOTER COPYRIGHT AREA OPTIONS”
- You can enter new text inside the Copyright Text box.
- To add footer widget functionality:
- Scroll to “FOOTER WIDGETS AREA OPTIONS”
- Use the check box to turn on/off footer widget area.
- You can also set up how many column you want to use in footer widget area right below the check box in the option “Number of Footer Columns”
- You can select between 1-6 columns for widgets.
- Scroll to “FOOTER WIDGETS AREA OPTIONS”
- To edit Footer Widget content:
- Go to: Dashboard > Theme Options > Widgets
- On right side you will see boxes labeled Footer Widget 1 – 6. Each one corresponding to each column.
- To add content to the widget:
- Click the arrow on the right corner of the Footer Widget box to open it.
- Then drag any of the widgets on the left side inside the Footer Widget box.
- Go to: Dashboard > Theme Options > Widgets
For example:
- Drag “Text” box into Footer Widget 1
- A menu will open where you can put a title and content inside of it. After you have inserted content. Click save in the bottom right corner.
Section 4. How to create a new blog page
Step 1.
Create new page.
Step 2.
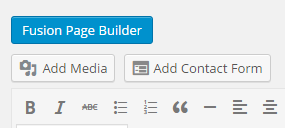
Go to Fusion Page builder.
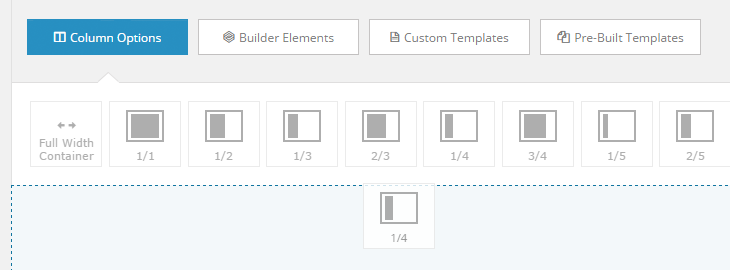
Step 3.
Add 1/4th and 3/4th columns (drag and drop) inside empty space.
Step 4.
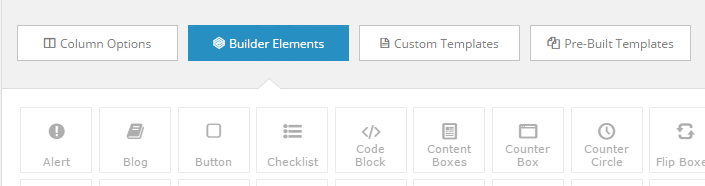
Go to Builder Elements.
Step 5.
Drag and drop person icon (a) box into the 1/4th box (b).
a.)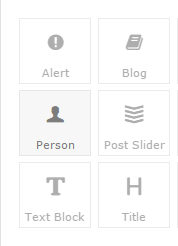 b.)
b.)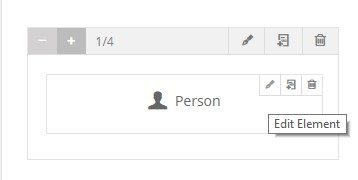
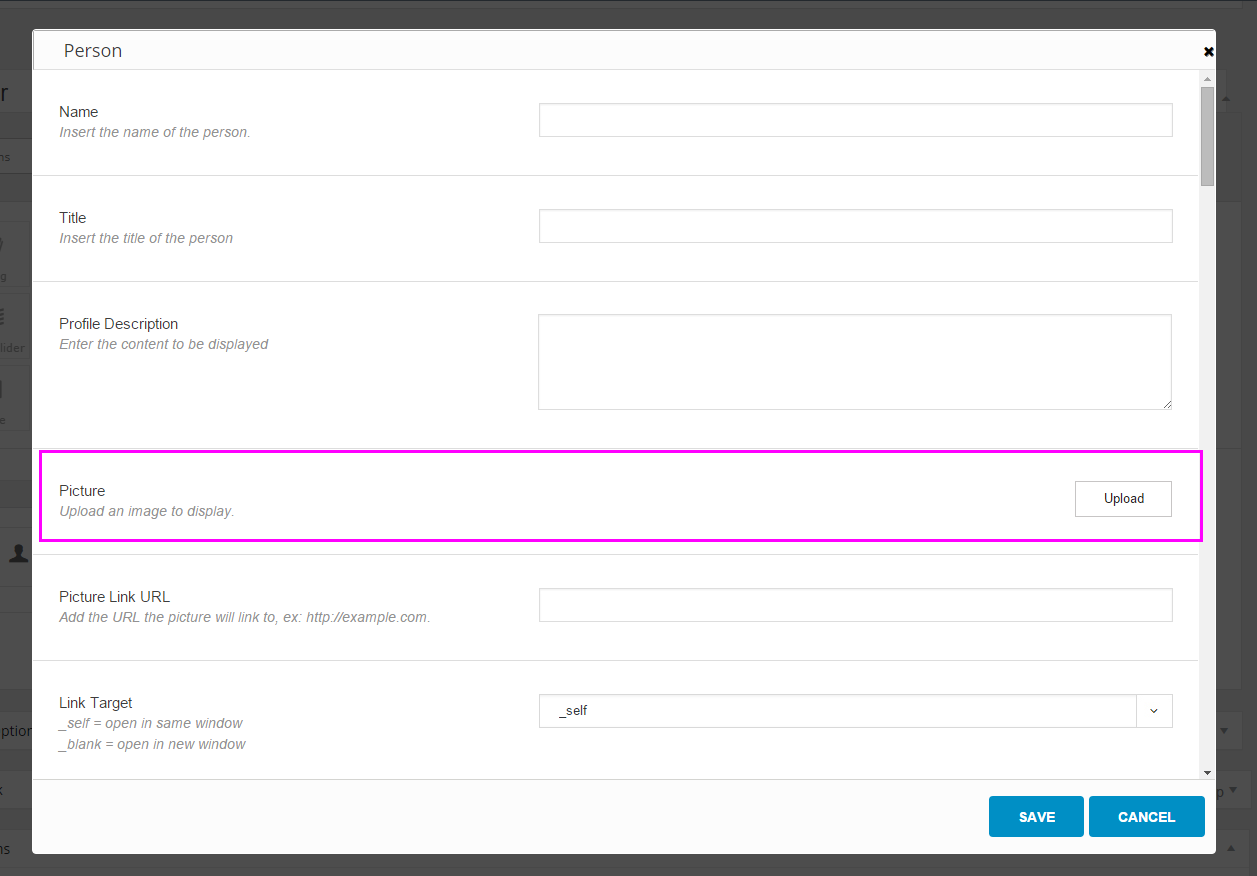
Click edit element on the person box inside the 1/4th box. Then go to the picture section and click upload button to add person’s photo. Click Save.
Step 6.
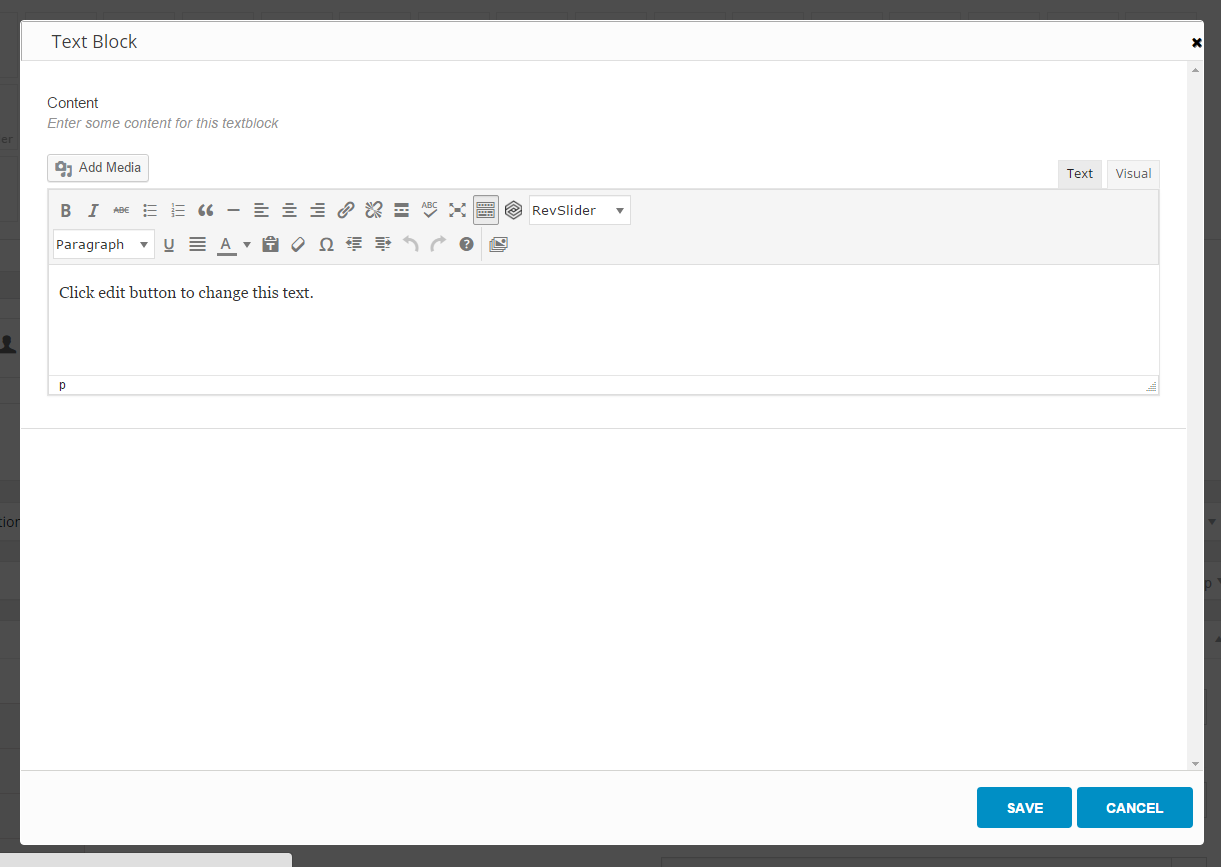
Drag and drop a text box(a) inside the 3/4th(b) box(b).
a.) b.)
b.)
Click edit element on top right corner of text box.

Add text and click save.
Step 7.
Go to builder elements and drag and drop a Blog Block(a) below the 1/4th and 3/4th blocks in the empty space(b).
a.)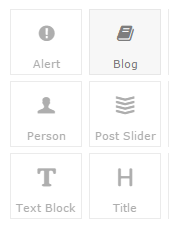 b.)
b.) 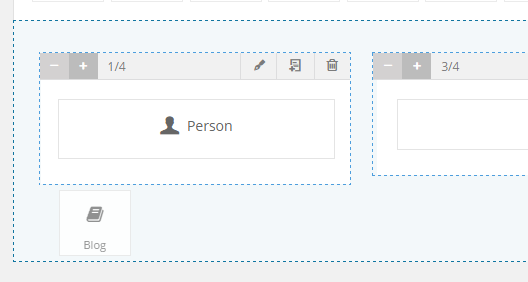
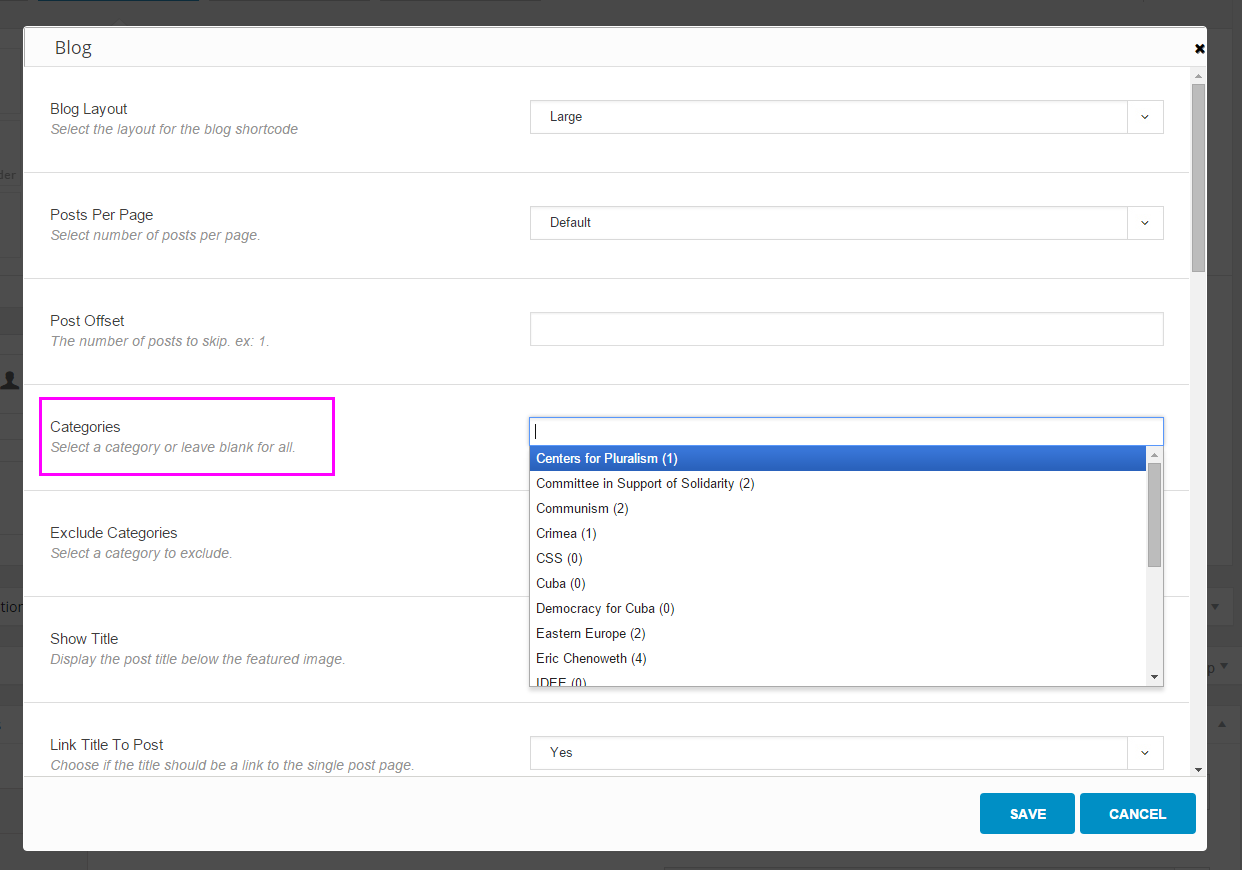
Click edit element button on top right of blog box. Go down to categories section and click the dropdown and select which categories will be displayed in the blog. Click save.
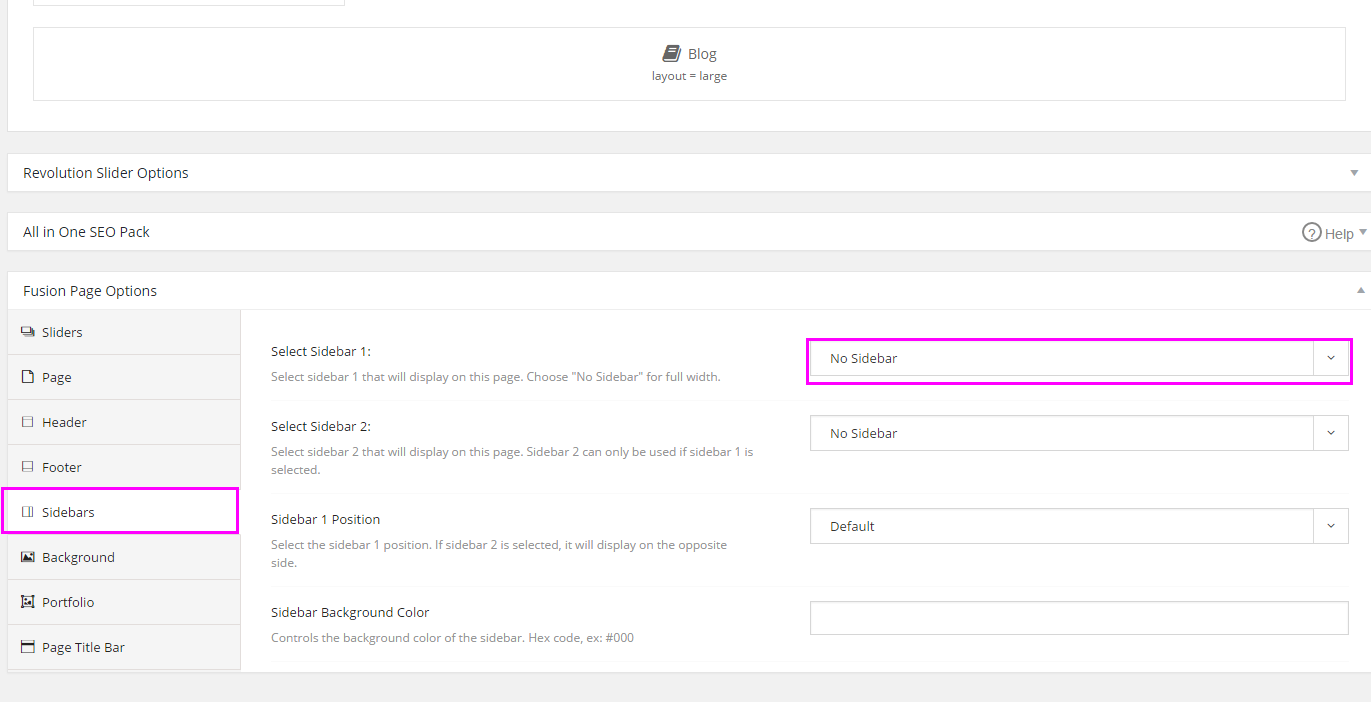
Step 8.
Go to bottom of page where it says Fusion Page Options and click sidebars. Then select the Default Sidebar in the dropdown at the top in the Sidebar 1 section.
Then click the dropdown in the Sidebar 1 position section and select Right.
Finally, publish/update page.
Step 9.
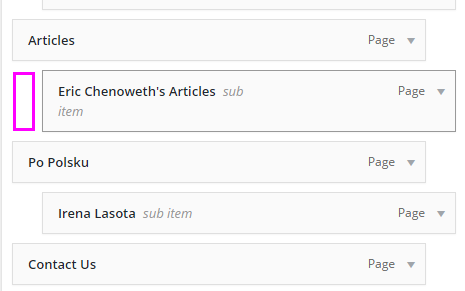
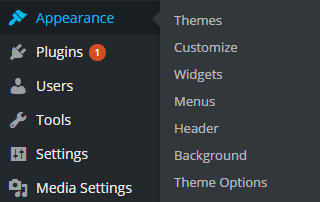
Go to Appearance > Menus
Look for new page checkbox and add new page to menu.
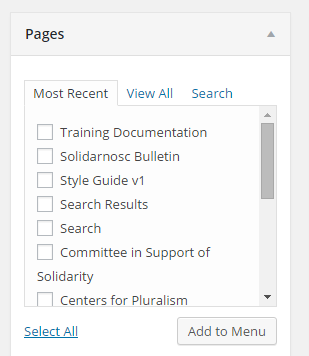
Drag menu item into the section you wish to have the new blog page. Make sure to keep the indent so it appears below the top menu item. Click save menu on bottom right corner of page.